
The first step to get you started with creating great projects with members of the community is to create a project. Here I will give some hints on a few steps that will prove helpfull while you are creating your first project.
To be able to create a project you have to be a registerd member of makeCahoots and logged in to your account. If you have not yet registered, you can do that here.
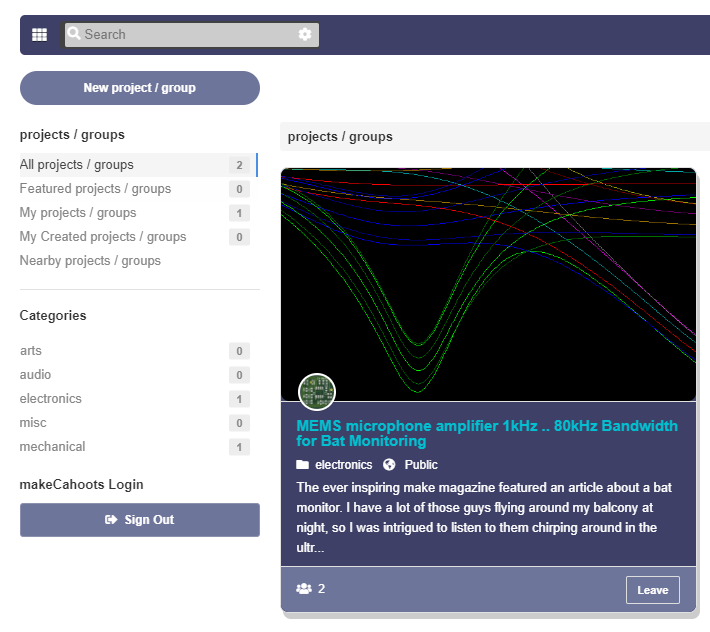
Navigate to the projects page. Click on the "New project / group" button to get started.
The first step in the process is to select a category. Take a moment to consider which category best reflect the main focus of your project, since this cannot be changed afterwards (technical limitation). If no category seems to fit you can choose "misc" to continue. Please head over to the forum and request a category that would fit your project to help us improve the community and consider your input. In case you are we create the requested category, we can help transfer the project afterwards (manually).
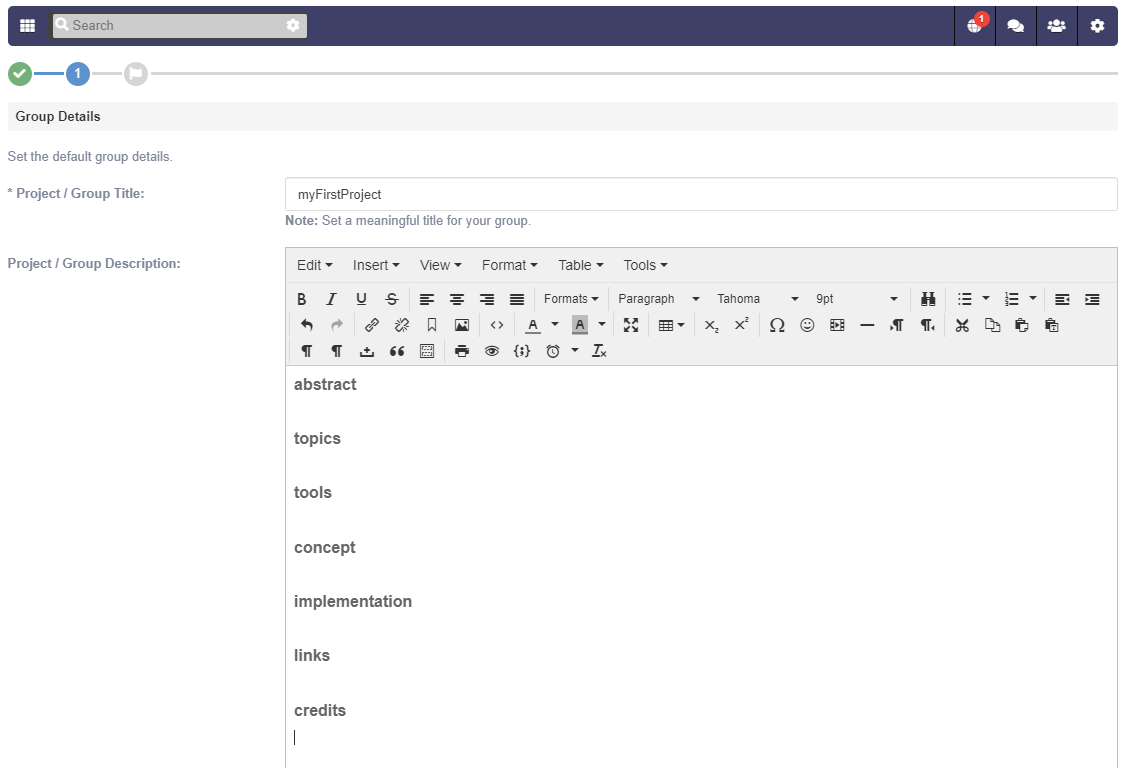
After giving the project a title, next there is a feature rich editor that lets you describe your project in whichever form you see fit. We added a sample structure to get you started. The editor's functionality will not be described in detail since most of it is straight forward. I will talk about some technical aspects though.
You can use headings, paragraphs, tables and bullet points to structure your description.
An example structure is given here:
Navigate to the projects page. Click on the "New project / group" button to get started.
The first step in the process is to select a category. Take a moment to consider which category best reflect the main focus of your project, since this cannot be changed afterwards (technical limitation). If no category seems to fit you can choose "misc" to continue. Please head over to the forum and request a category that would fit your project to help us improve the community and consider your input. In case you are we create the requested category, we can help transfer the project afterwards (manually).
After giving the project a title, next there is a feature rich editor that lets you describe your project in whichever form you see fit. We added a sample structure to get you started. The editor's functionality will not be described in detail since most of it is straight forward. I will talk about some technical aspects though.
You can use headings, paragraphs, tables and bullet points to structure your description.
An example structure is given here:
01
abstract
a short description of 2-5 sentences that lets people know what they signed up for by clicking on your project.
02
features / topics / themes
depending on the category this might look different. I recommend stating the features, techniques or topics dealt with in this project to give a better first idea about the scope and direction.
03
tools
a list of tools used further details the section above and lets people judge whether this is still fitting their interests and capabilities.
04
architecture / concept
describe the project at a high level as in a concept or architectural design.
Then use sub-sections to give more details on parts of it.
05
implementation / realisation
document the intended or performed implementation or realisation of your project. State the progress and current status. Use appropriate sub-sections to give better structure and overview.
06
links
provide a collection of important links to datasheets, products you used (no advertisement, just a help to find a first link for others).
You can also link to the project's files section to make sure people find everything.
07
credits
give credit if you based your work on some prior creation or were inspired by others. Make sure you are not violating anyone's rights.

You will probably want to add images to transfer your ideas and achievements more easily. For security reasons the drag and drop feature of the editor is not available. The images have to be linked manually. The procedure is described further below. During the initial creation just write the basic introduction part and continue with completing the creation process. Images should later be added in the edit mode.

The group type can be set to public or private. All groups can be found in the search and be view by members and guests of makeCahoots.
The public groups offer a join button that can be used to easily apply to be added as a group member. The owner or other members with sufficient rights still have the option to approve or reject the request. Public is default and recommended for most projects.
A private group does not offer a join button. The owner of the group can invite people to join. This might be after conversations in private messages or people known from previous collaborations.
A project page offers a rich set of features organised on other tabs within the project / group. Below you find the default selection. I will give a short overview of the offered features.
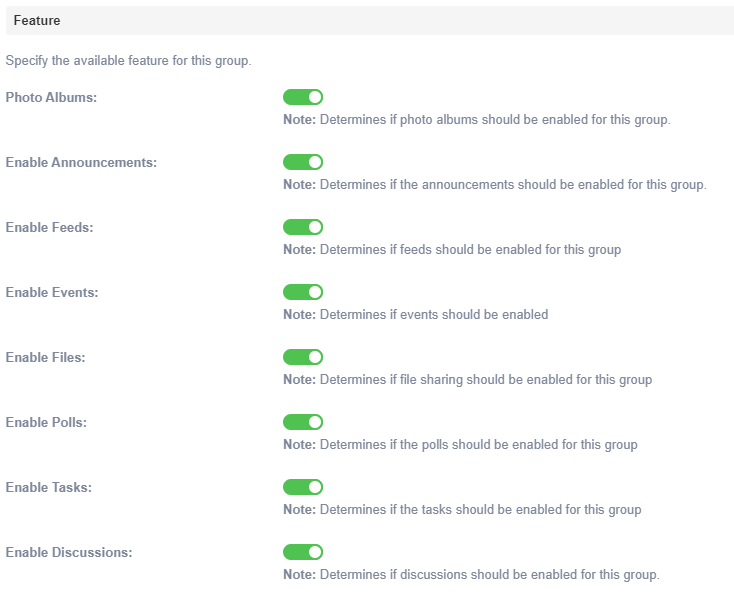
Photo Albums: can be used to present your project and progress in form of images.
The Albums should also be used for images that you want to include into your project description by linking.
Announcements: they can be used to share imprtant information. This will be shown in the feed of project members and people who follow you.
Feeds: this is a project specific feed that shows changes and progress in a separate feed.
Event: you can use this to organise events within your group or if your project goes on display somewhere.
Files: here you can store project related files, like diagrams, source code, schematics or drawings.
Polls: you can generate polls and have people vote if you need a decision or want to hear an opinion.
Tasks: track the projects tasks on makeCahoots. It is a simple task tracker. No fancy features you might be used from other task planning and tracking software.
Discussions: discuss topics within the team and decide on how to continue.
You will still be able to enable/disable these feature in edit mode.
Finally you can add a cover photo and a project / group avatar to make your project more visually appealing. An example can be seen below.
Adding images to your About page
Adding images is an important feature. To be able to add images to your about page's description you first have to add them to the project's album. Go to the Albums tab and create a new album.
Adding images is an important feature. To be able to add images to your about page's description you first have to add them to the project's album. Go to the Albums tab and create a new album.
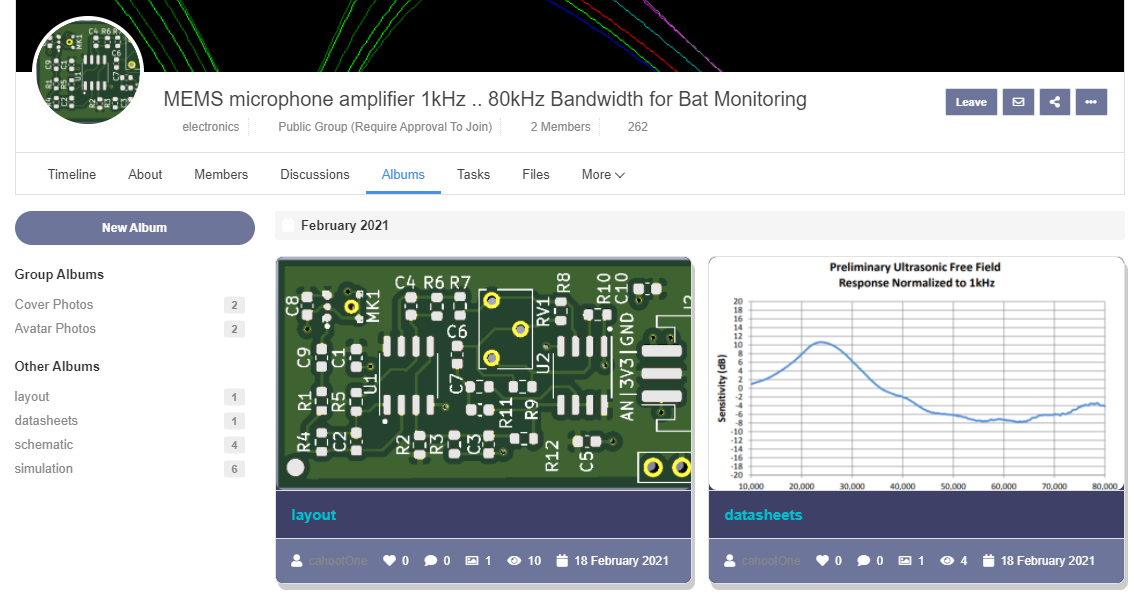
Add photos to the album.
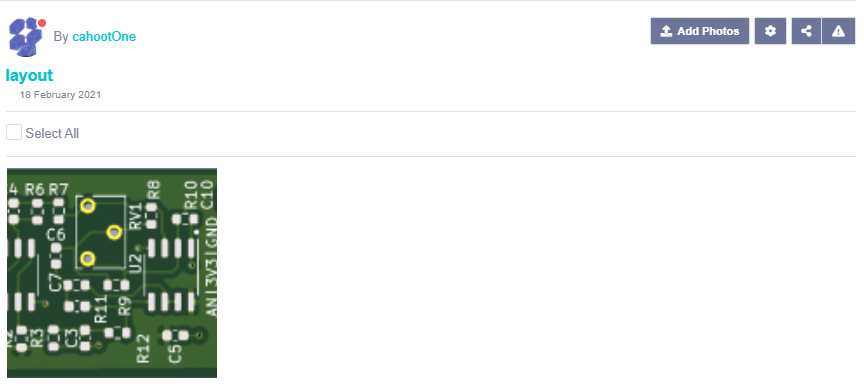
After you have prepared the needed albums and images, you have to find the link for using it in the about description image add feature. To get this click on the image in the album view shown above. An image view will open.
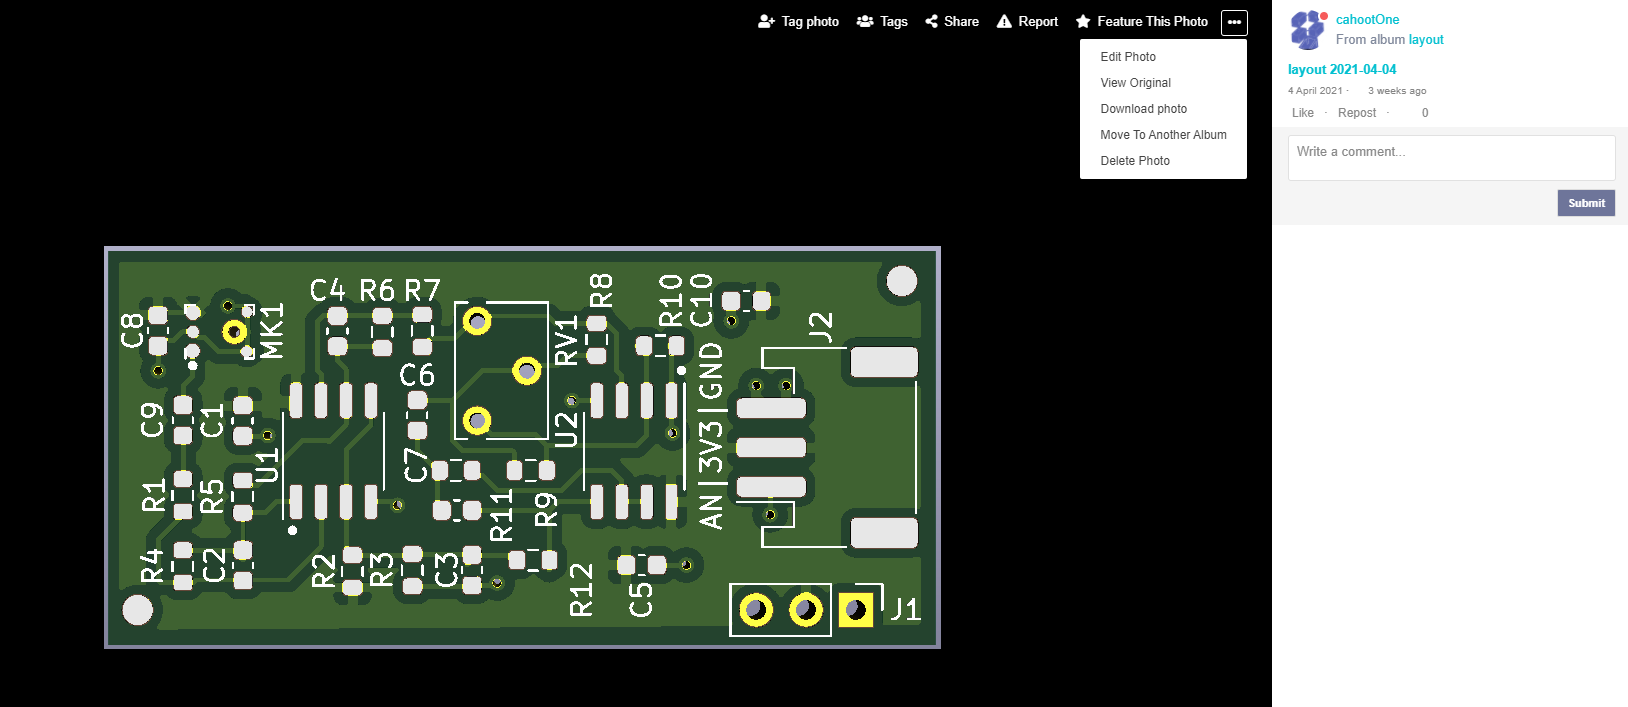
Click on the three dots in the upper right section and the on "View Original".
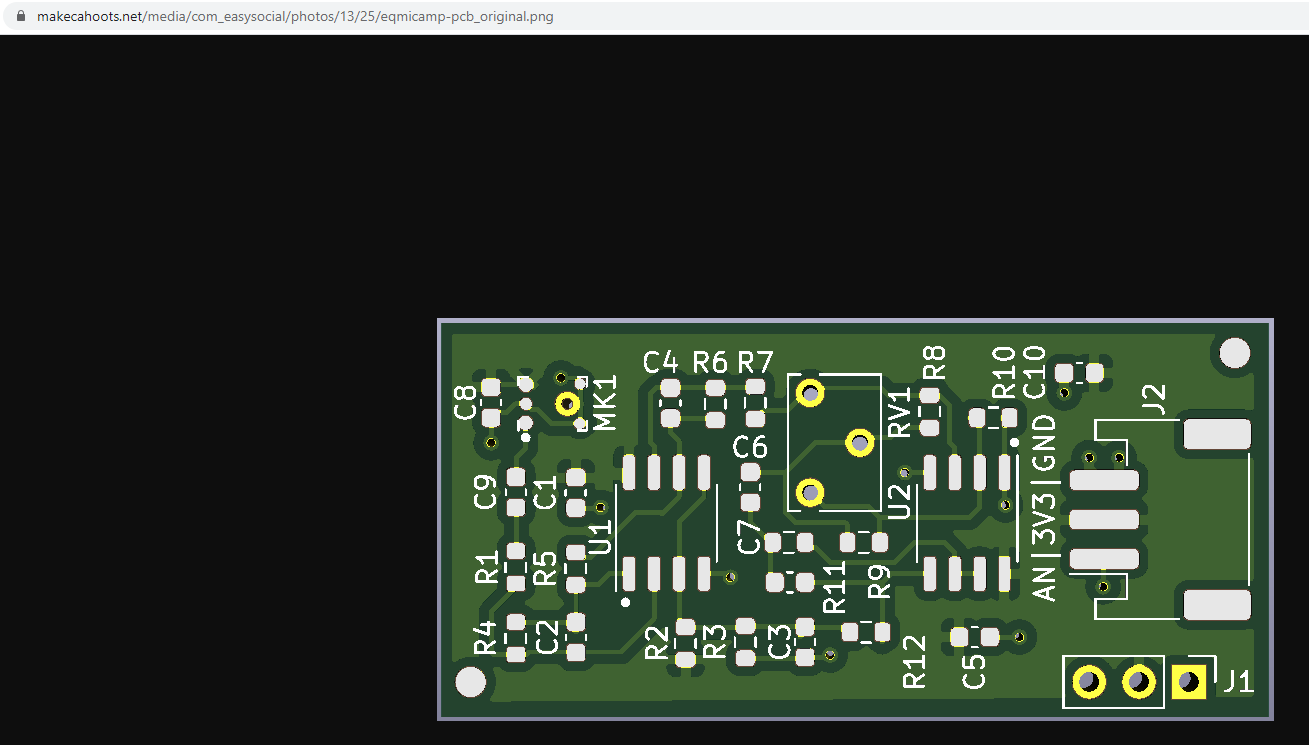
copy the URL from browser address line. This is the URL to be used in your link on the about page.
copy the URL from browser address line. This is the URL to be used in your link on the about page.
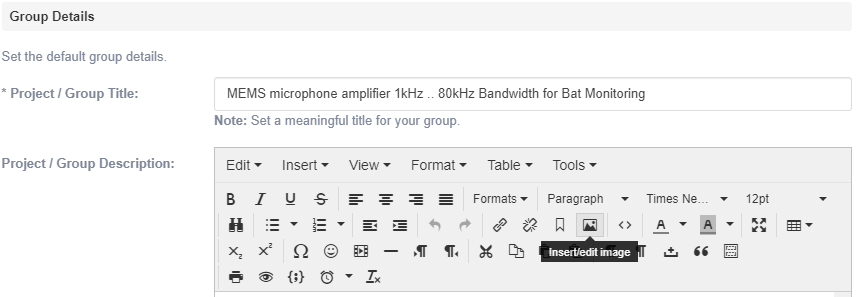
Back on the edit screen of the about page you can now add the image by clicking on the symbol. Then enter the copied link into the source field.

We opted for this more complicated procedure mainly for security reasons. In the future a proper image picker will be added to easily navigate through the albums without these manual steps.
After setting up your group you can start exploring the features in more detail.
If you still have questions head over to the forum and post it in the q&a section so other people might also benefit from our reply.
Then all that's left to say is: happy projecting!
If you still have questions head over to the forum and post it in the q&a section so other people might also benefit from our reply.
Then all that's left to say is: happy projecting!